The Art of Giving
I will be at Studio 402 at Anderson Arts Building Nov. 3 from 6 - 9 p.m. for the First Friday opening event of “The Art of Giving” which runs Nov. 3 - 11, 2023.
Although the weather has felt like spring lately, the holidays of thanks and giving are just around the corner.
Friday, Nov. 3, from 6 - 9 p.m., I will be at Studio 402 at Anderson Arts Building with my fiber art quilts, runners, potholders, oven mitts, coasters and other fabric gifts for the annual “Art of Giving” First Friday opening event.
Artists representing a variety of mediums will share their art Nov. 3 -11. Check out locally handmade gift ideas from jewelry and ceramics to paintings, prints and photographs.
New this year, I have made soft eyeglass cases from a variety of novelty fabrics. I have also just completed lots of new potholders, including the newest art-themed designs featuring Monet, Van Gogh, Da Vinci and Frida Kahlo. My potholders now have larger hanging loops so that they fit around the neck of a wine bottle, making them a perfect hostess gift with a bottle of wine. Who doesn’t need a new fun potholder to replace their old dirty and burnt ones?
The hot guy and gal pinup oven mitts are always a welcome gift. They brighten any kitchen and amuse your guests. They make cooking and baking fun. All oven mitts and potholders are functional, decorative and washable.
I also have many new quilted coasters that are washable and protect your table from spills, or hot and cold drinks.
For a larger, more special gift, consider a table runner or lap quilt. Cooler weather is on its way and what better way to say, “I love you,” than with a lap quilt to wrap up in while sitting by the fire or watching an old movie on TV?
This holiday season give the gift of art. Shop local and shop handmade.
Cocktails & Crafts
On Saturday, November 4, join us 1 -3 p.m. for a cocktail while making a craft at the Mansion, 3456 State Rt. 54A, Keuka Park (in the former Esparanza). A $40 ticket gets you a cocktail, a snack and a craft kit. Ticket sales end October 28th. Call (315) 239-4800 or stop by the Mansion to get your ticket.
Saturday, November 4, join us 1 - 3 p.m. for a cocktail while making a craft at the Mansion, 3456 State Rt. 54A, Keuka Park (in the former Esparanza). A $40 ticket gets you a cocktail, a snack and a craft kit. You can watch the demo and make the craft or take it home to complete. Ticket sales end October 28th. Call (315) 239-4800 or stop by the Mansion to get your ticket.
I will be showing two crafts, a fabric wine bag and an embellished tea towel. One ticket will get you a kit for both of my projects. Sewing machines and irons will be available for your use.
The wine bag features a ribbon tie and a matching gift card. Learn how to do a French seam to hide your raw edges.
The pre-made cotton tea towel has a hanging loop in the corner. Embellish it with your choice of cotton themed prints.
Both projects are quick and easy to make. You can pick one kit for each project with your admission ticket.
Other craft projects to choose from include a loop yarn wreath, a yarn tree and a wood project which will be taught by other crafters. Call (315) 239-4800 today to get your ticket!
Additional kits and crafts will be available for purchase.
Kick off your holiday season at the Mansion by attending this fun event!
New Location for 2024 Get-Away
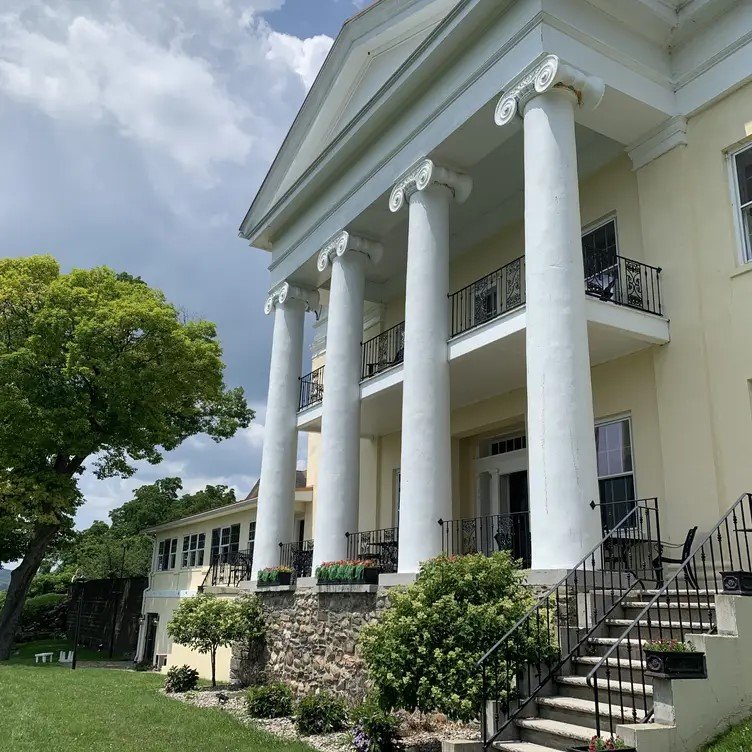
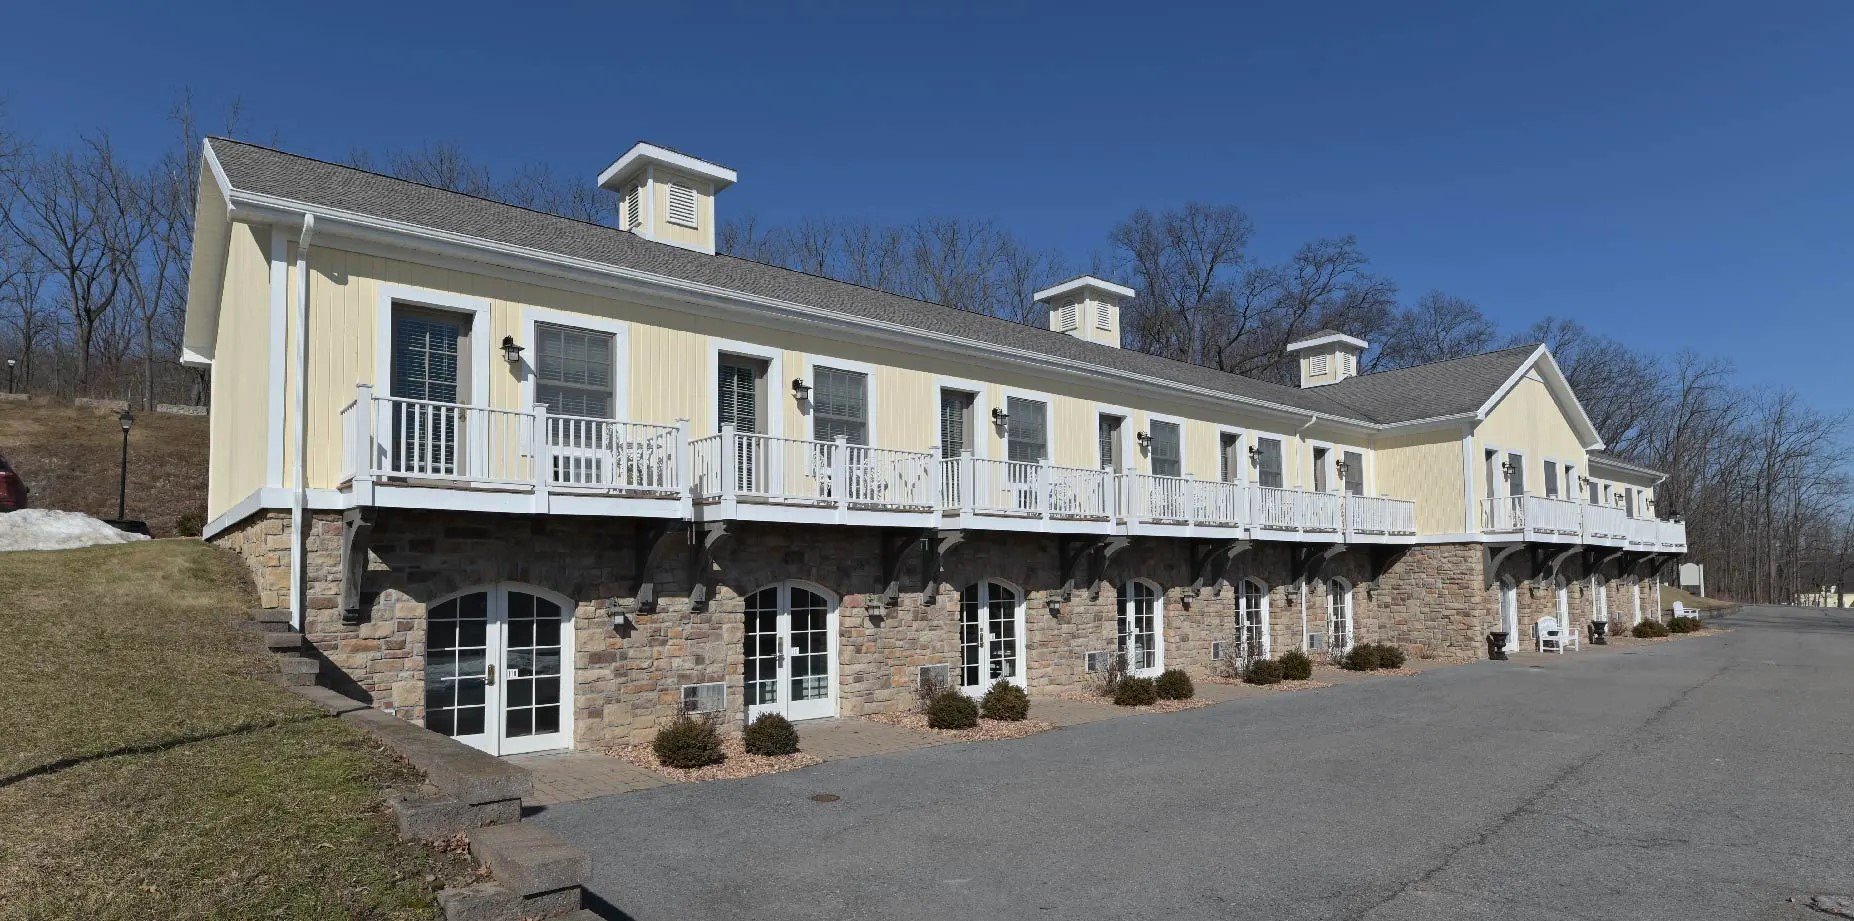
We are returning to the Finger Lakes! In 2024, the Get-Away will be at The Mansion (formerly Esperanza) on the bluff overlooking Keuka Lake. The dates are April 26 - 28, with an optional add-on Thursday, April 25. And exciting news about the prices, which are less than in the past several years!
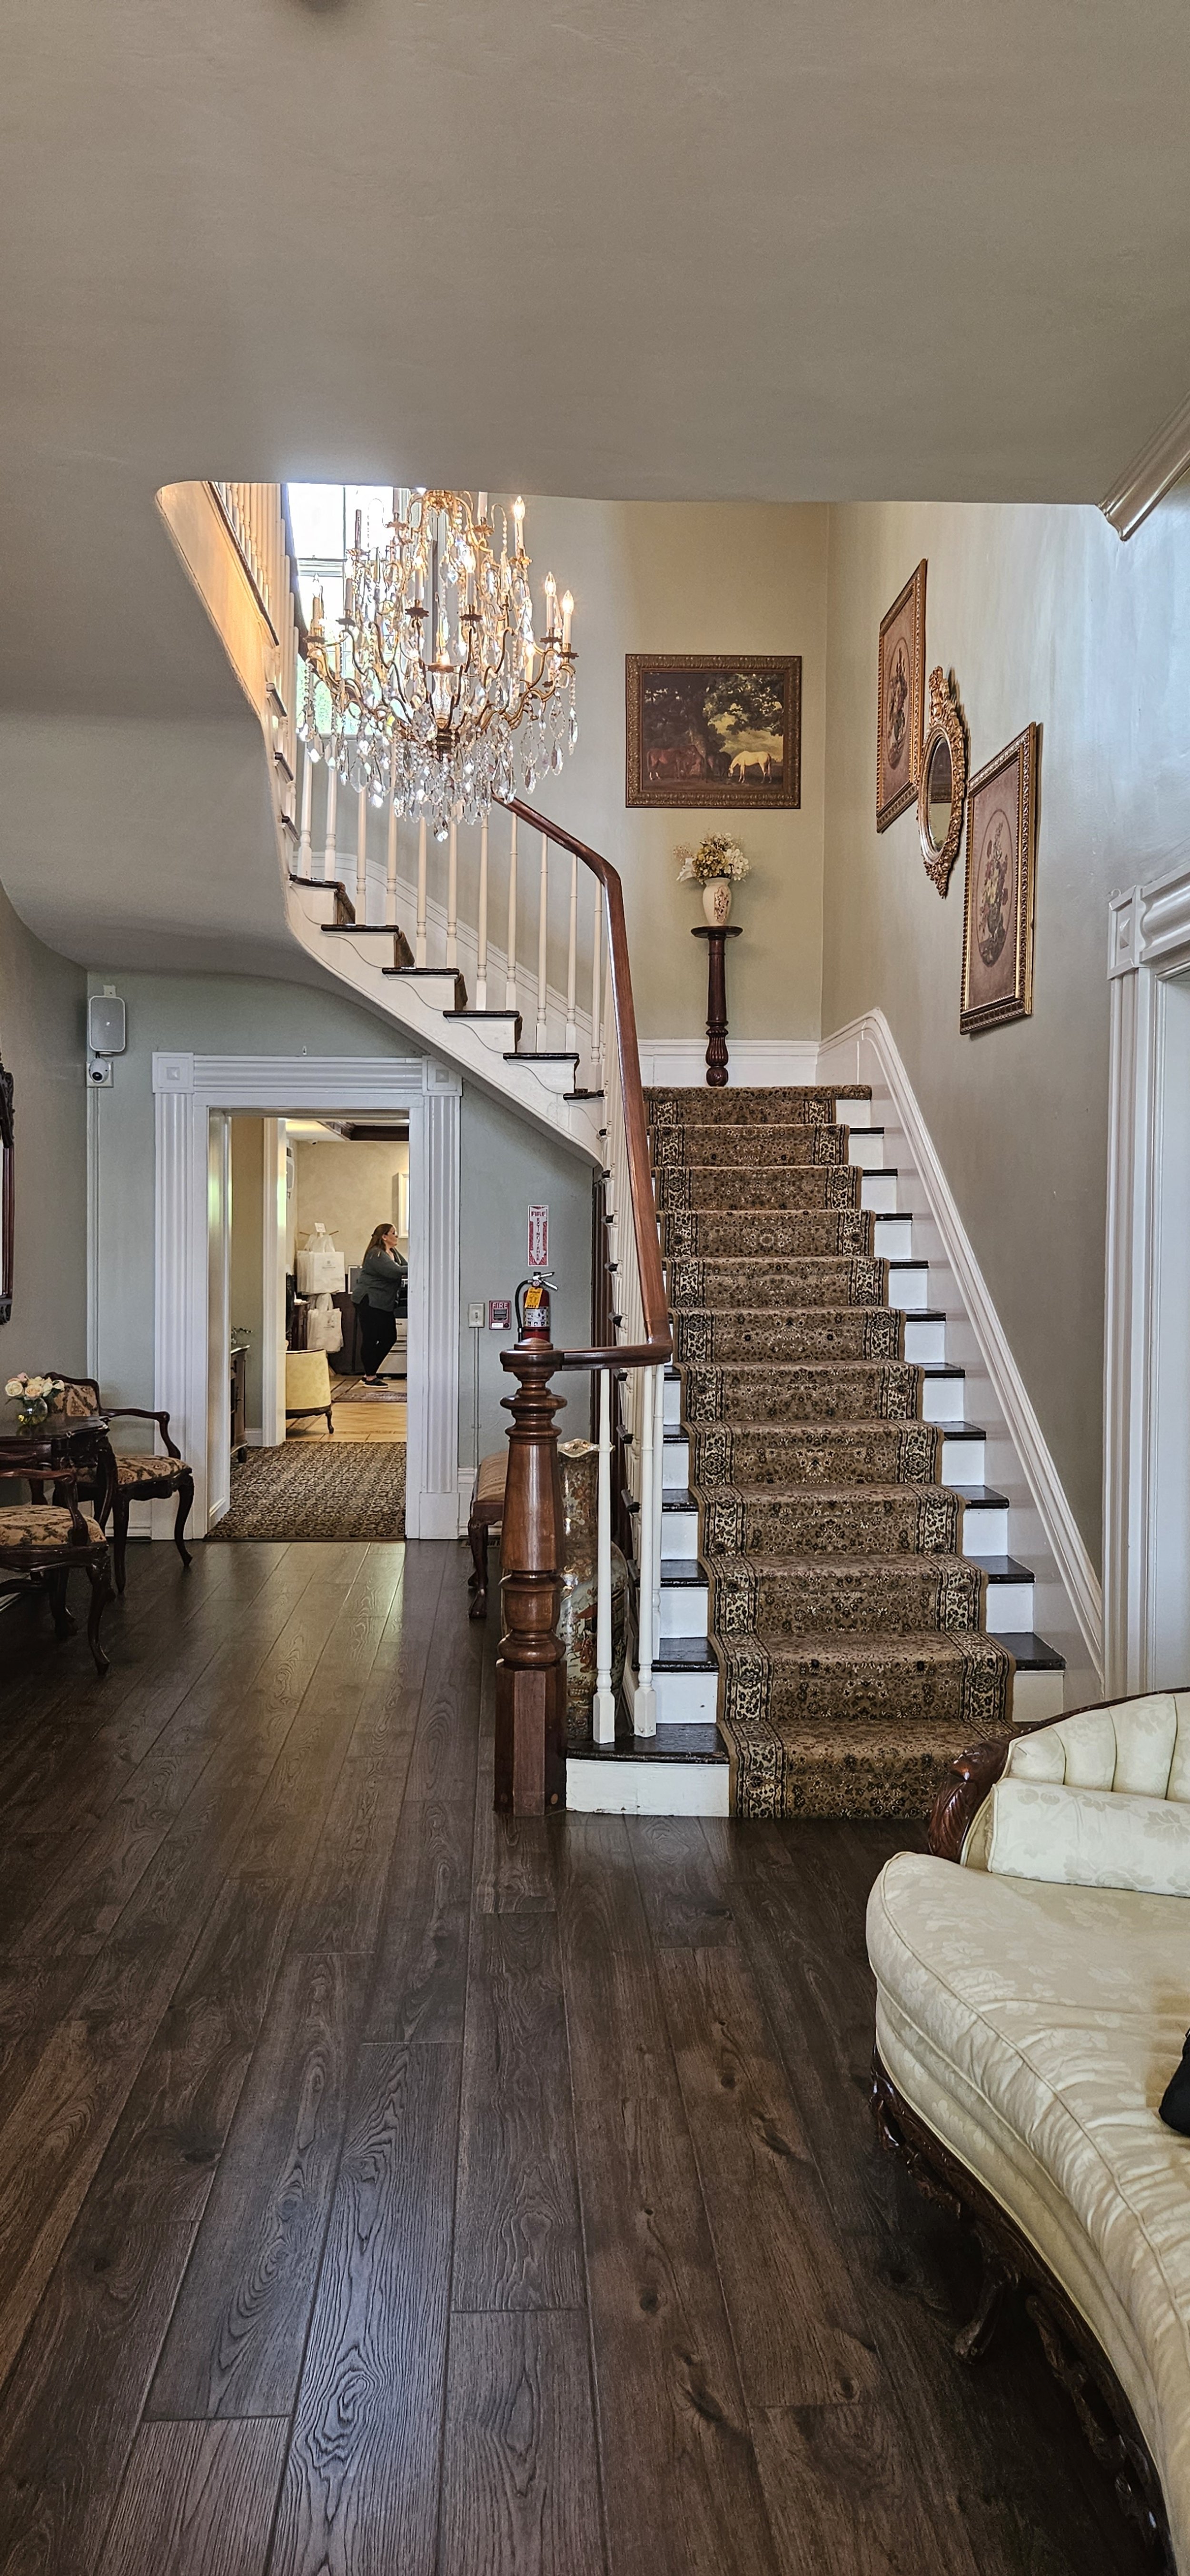
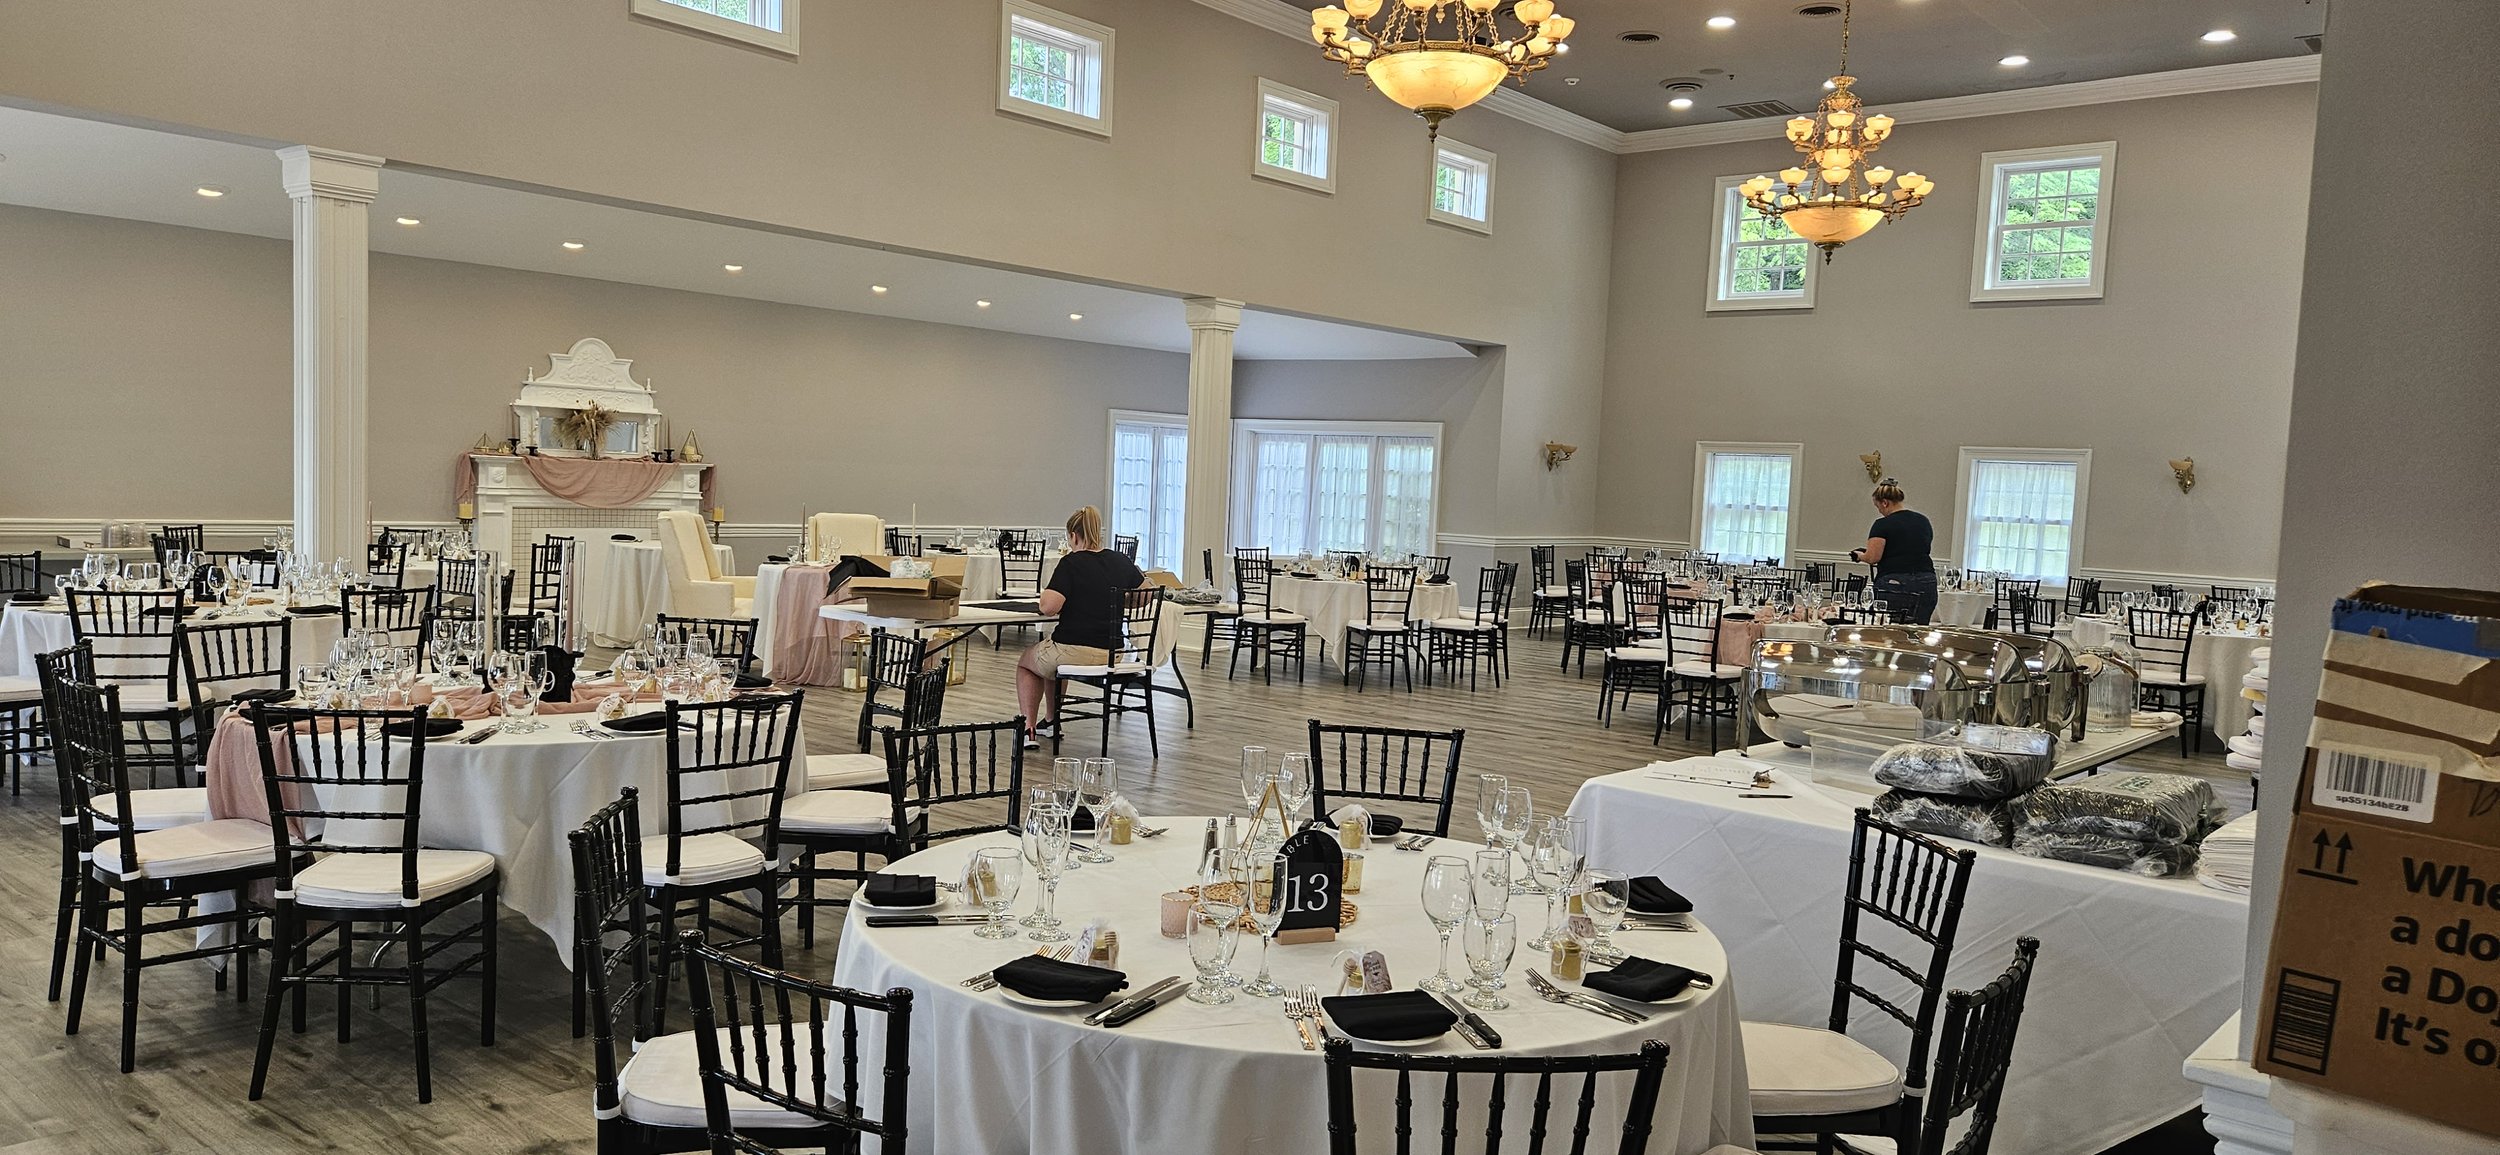
We are returning to the Finger Lakes! In 2024, the Get-Away will be at The Mansion (formerly Esperanza) on the hill overlooking Keuka Lake. In addition to a gorgeous view of the lake, The Mansion has a spacious contemporary event space which is attached to the nearly 200-year old mansion.
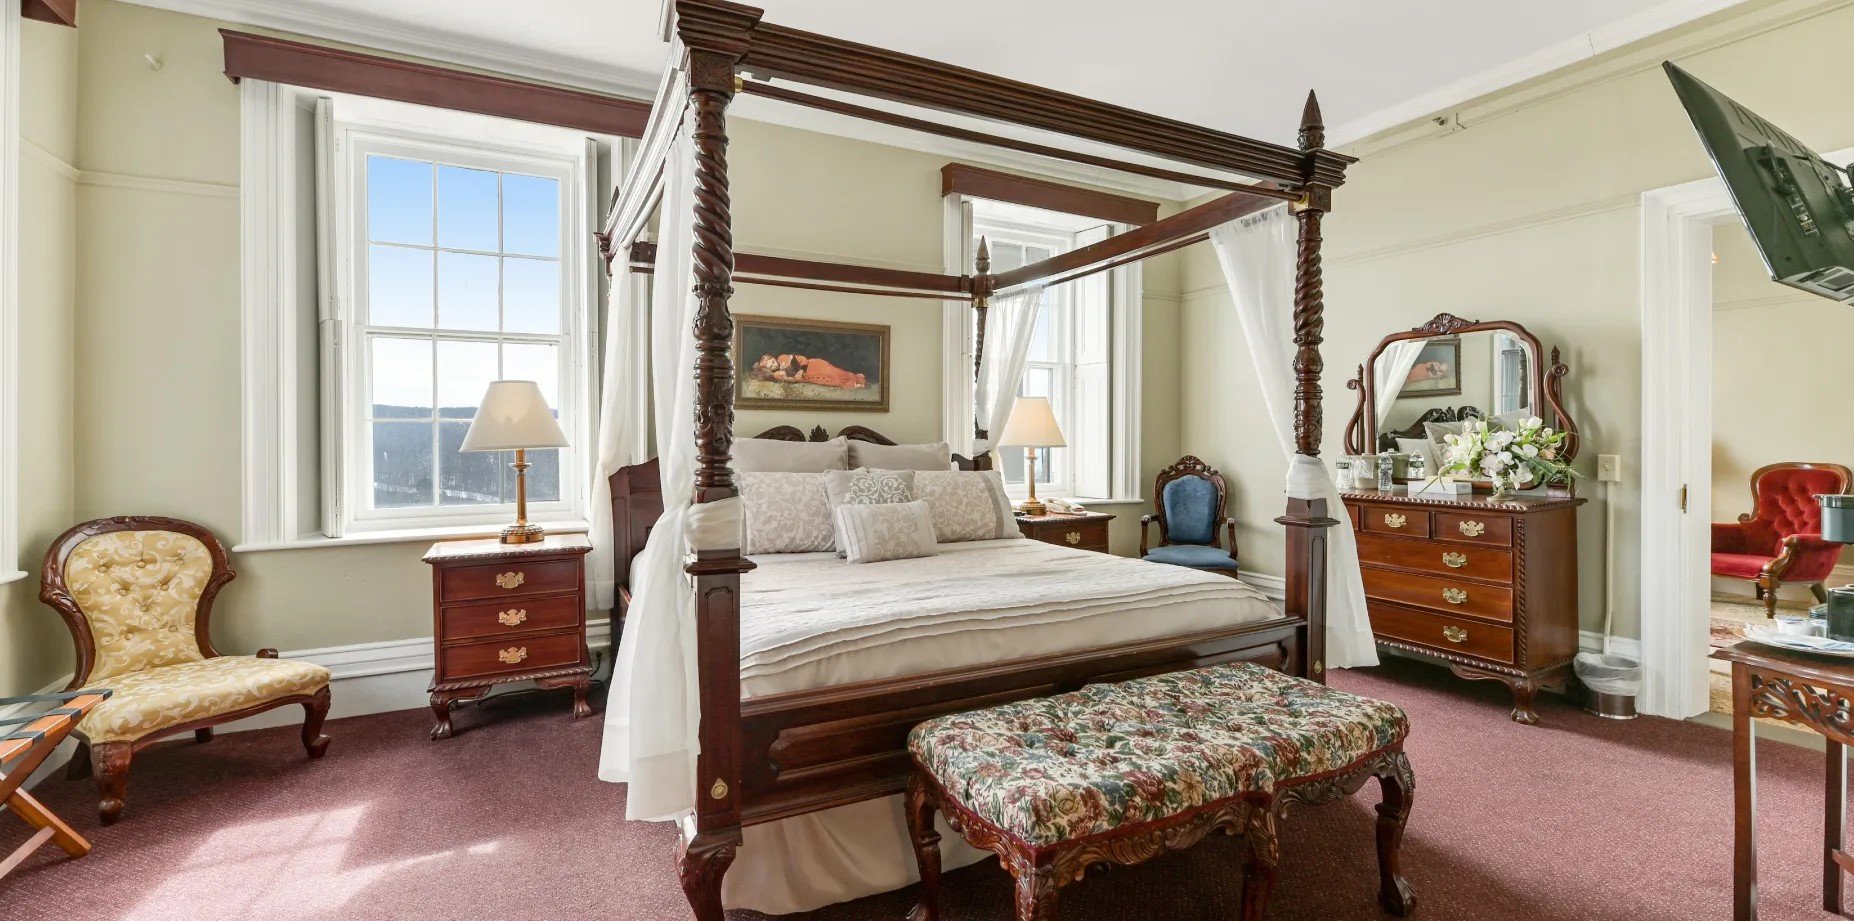
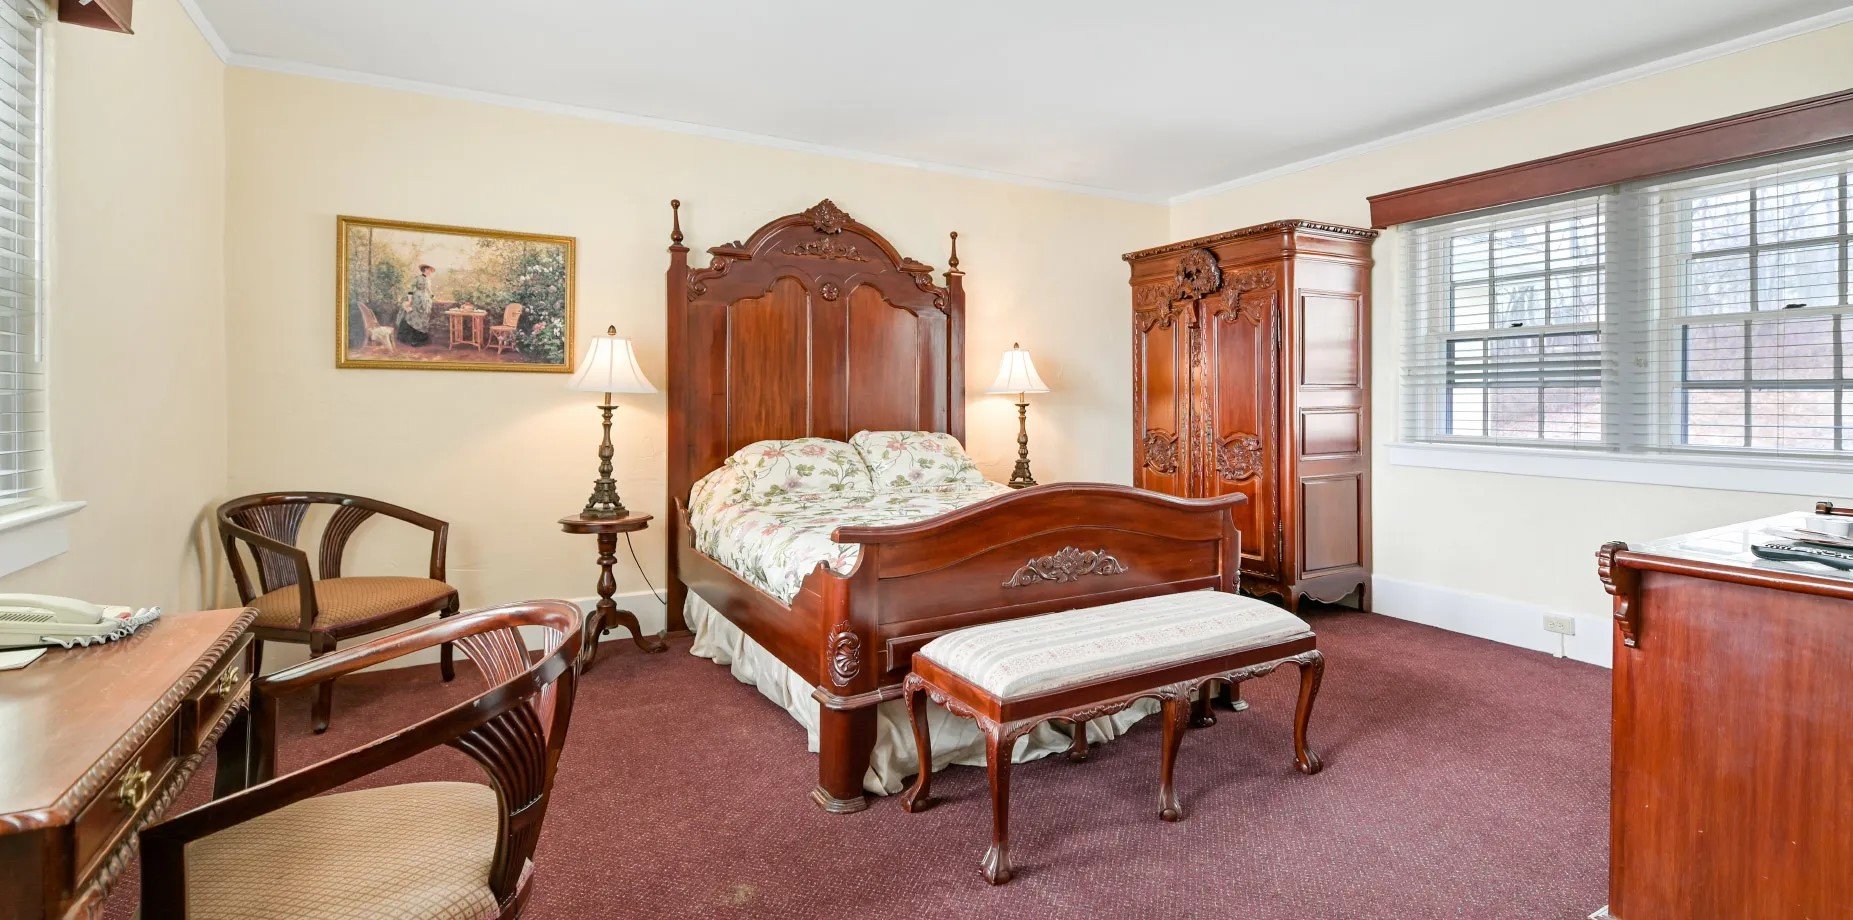
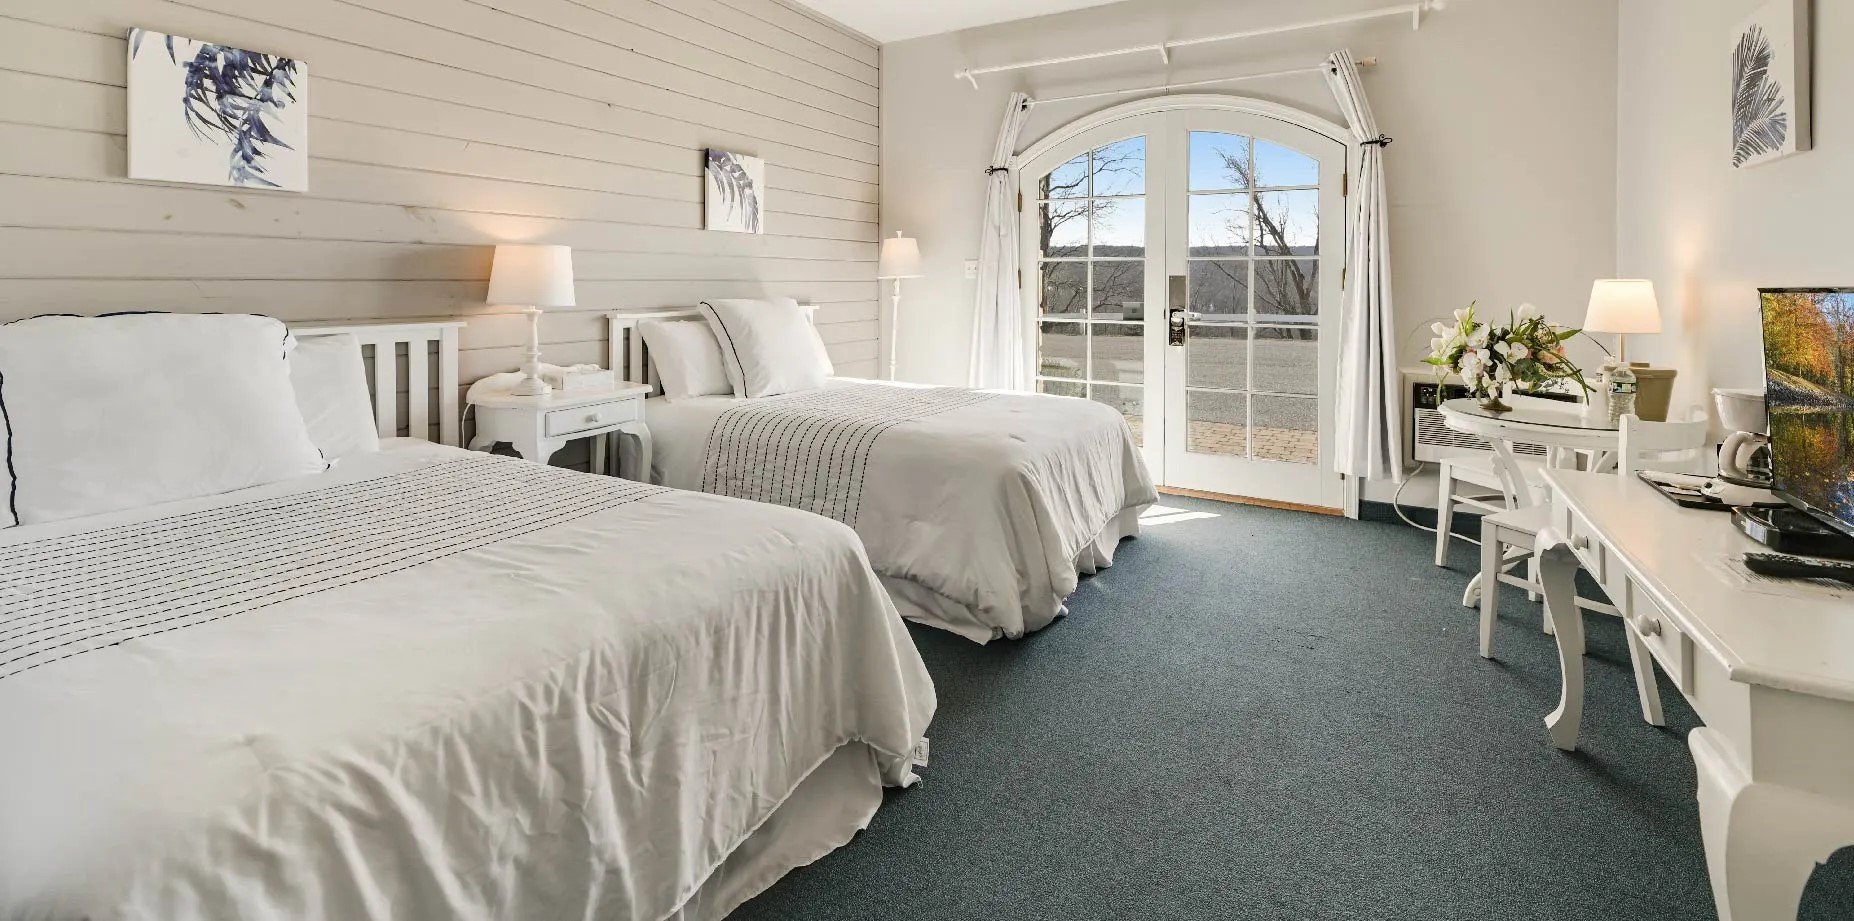
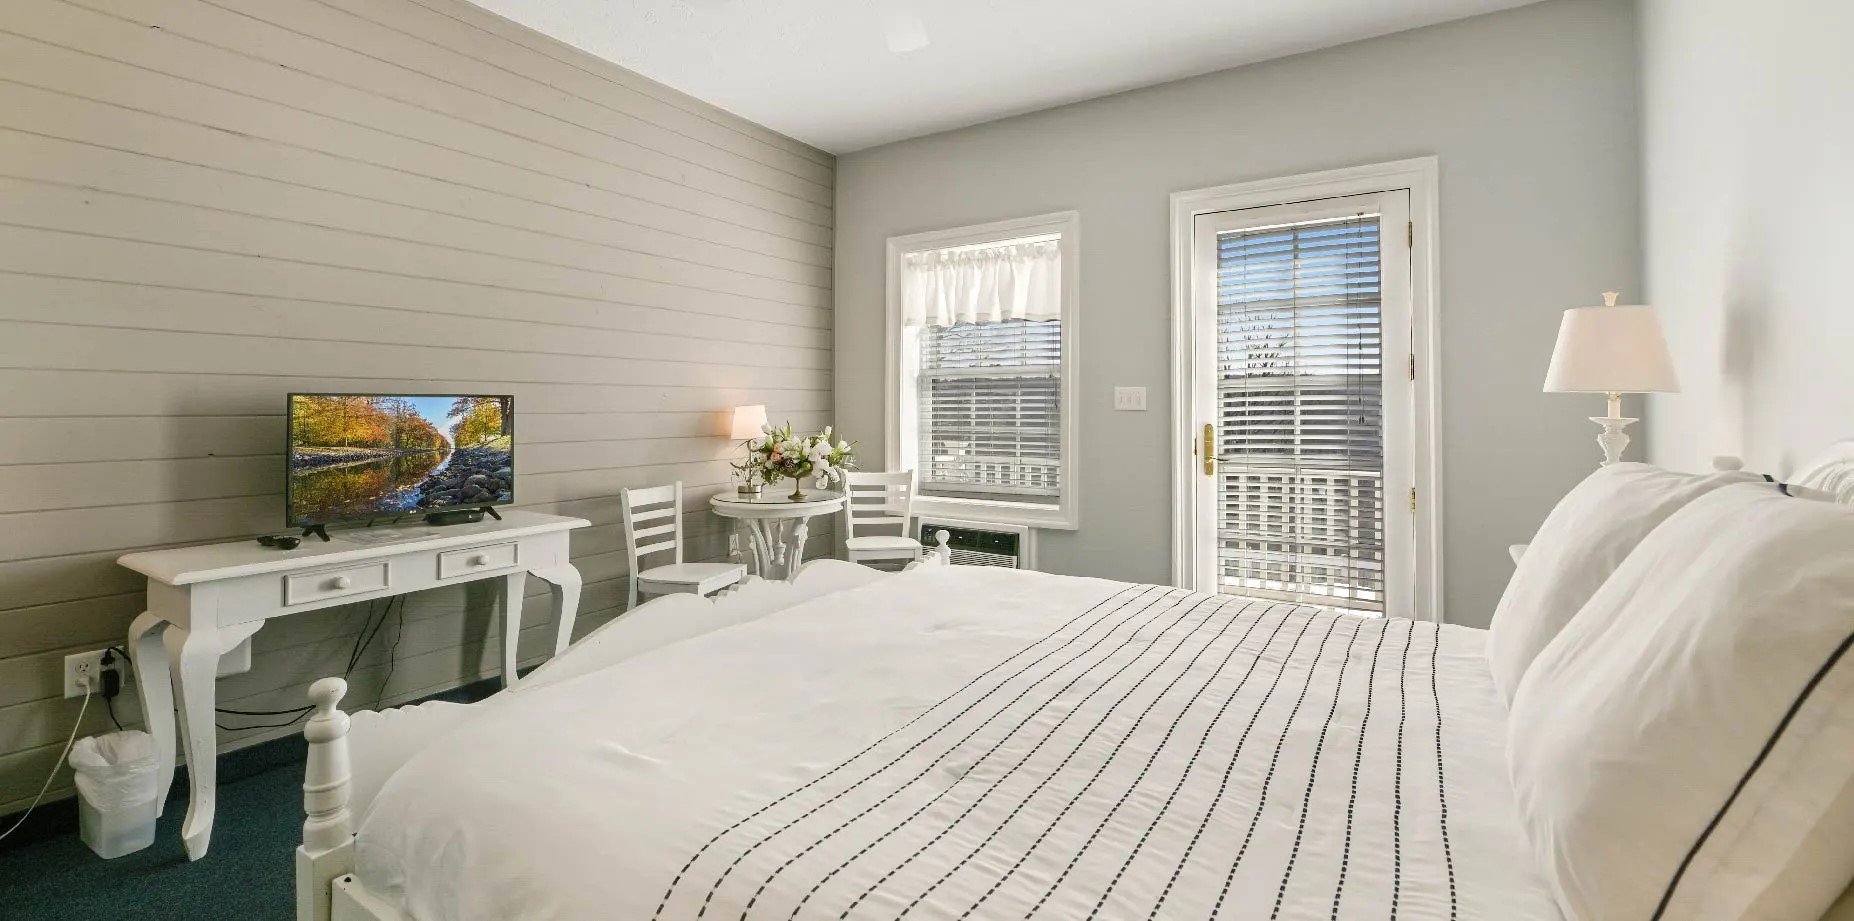
For accommodations, you have a choice of a room in the mansion furnished with antiques or a room in the adjacent modern inn featuring lake house-style furnishings. All rooms are equipped with modern bathrooms, refrigerators, coffee/tea makers and Wi-Fi.
In 2024, the dates will be Friday, April 26 - Sunday, April 28, with an optional add-on day Thursday, April 25. You may also opt to add the night before your retreat begins or Sunday night to unwind after the retreat ends. The Get-Away includes 3 meals a day, except for Sunday, which includes breakfast and a box lunch since the retreat ends Sunday at 3 p.m.
The prices are also less than last year. The Mansion has offered us incredibly low accommodation prices. You need to make your accommodation reservation directly with The Mansion (315-239-4800) separate from the retreat. That way you can choose the number of nights you want. The prices are the same for a double room or a single room, regardless the number of people in the room. All of the inn single rooms have king beds. The room rates depend on the night of the week and whether you are in the mansion or inn. Room prices are as follows:
Prices at the Inn:
Wednesday, Thursday, Sunday - $79 per room, per night
Friday & Saturday - $109 per room, per night
Prices at the Mansion:
Wednesday, Thursday, Sunday - $109 per room, per night
Friday & Saturday - $159 per room, per night
The prices for the retreat, which includes all meals and snacks, retreat instruction, folder with patterns and information, ballroom rental, individual work stations, welcome bag, get-acquainted reception and all the things that make this Get-Away special, needs to be paid to me and are as follows:
Basic Retreat (Friday, April 26 - Sunday, April 28) $475 per person
Additional Full Day (Thursday, April 25) +$126 per person
As always, I made the announcement first to retreaters from the last few years. Much to my surprise, the 2024 Get-Away nearly sold out in just 2 weeks, before I could even advertise to the general public. But if you were hoping to come for the first time in 2024, or delayed registering when I first announced the Get-Away, you can still be added to the wait list when the retreat sells out. Life happens and sometimes people need to cancel. I am working with the Mansion to see if we can add a few additional workstations in the ballroom so we can increase the number of retreaters. Also, if you add your name to the wait list, I will add you to my list of regular retreaters so you will get a notification of the 2025 Get-Away when it is first announced.
Find out more information on the Get-Away page of this website by clicking on the orange Get-Away button below.
A Fun Oil Cloth Project
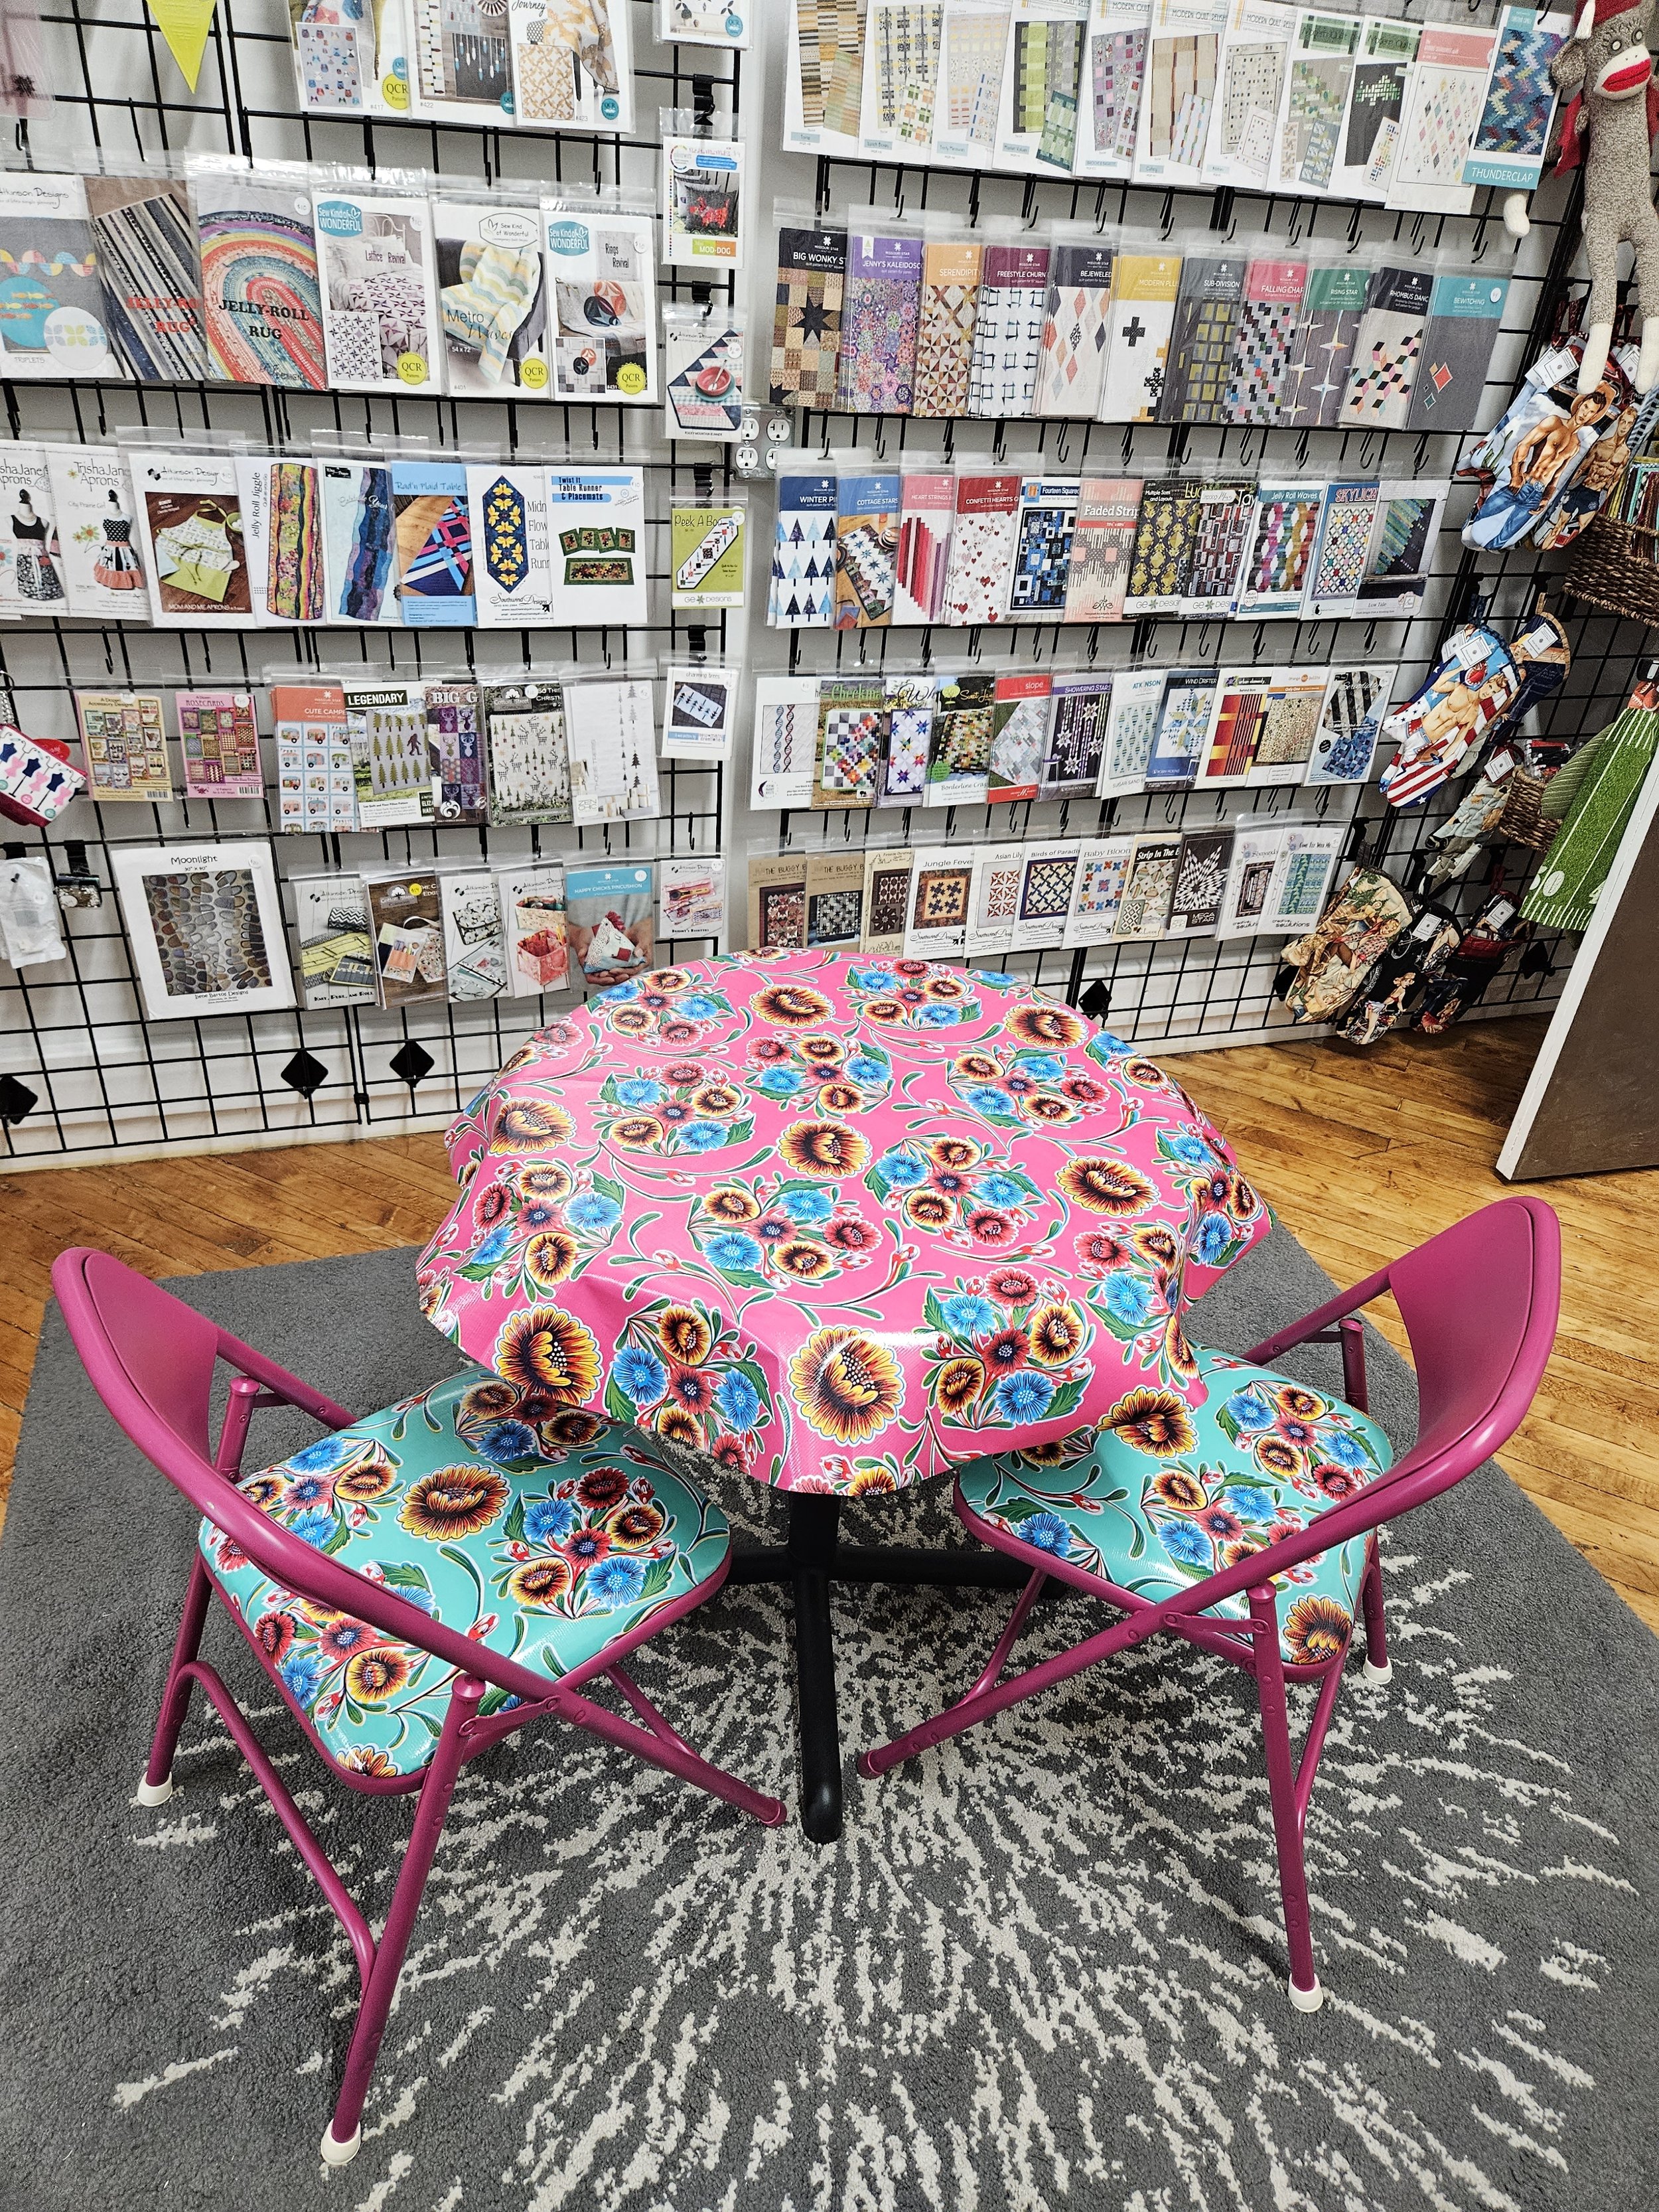
I needed two chairs for my new table at the studio, so today I rehabbed two card table chairs I found collecting dust in the basement. A little paint and some bright oil cloth and I didn’t have to buy two new chairs. See how I did it…
Today I made a fun and easy project from two old padded card table chairs that I found in the basement. These two chairs are at my studio now with a small table I purchased at IKEA last month. I also cut a 39” circle from a coordinating oilcloth for a tablecloth. Here’s how I did it.
Supplies Needed:
2 old padded card table chairs
2 cans Rust-Oleum 2X Ultra Cover Paint+ Primer (one can per chair) - I used Magenta Satin
2/3 yard of a bright colored oilcloth (1 yard if your chair has a padded backrest, mine didn’t)
Rubber Leg Tips (my chairs were missing two in back)
Staple Gun
Screwdriver or Wrench to remove covered seat (and back rest if your chairs have one)
Scissors
Drop Cloth
First, make sure your chairs are free from dirt, dust and cobwebs. Then remove the screws holding the padded seat (and backrest, if applicable) in place. Set padded parts and screws aside.
Also remove any broken leg tips before painting. You may want to just remove them all, so they all match. I forgot to do this step, so I now have new tips only on the back legs where they were missing. I didn’t want to remove the front tips after I painted and run the risk of chipping the paint or having the new tips not cover all of the unpainted area.
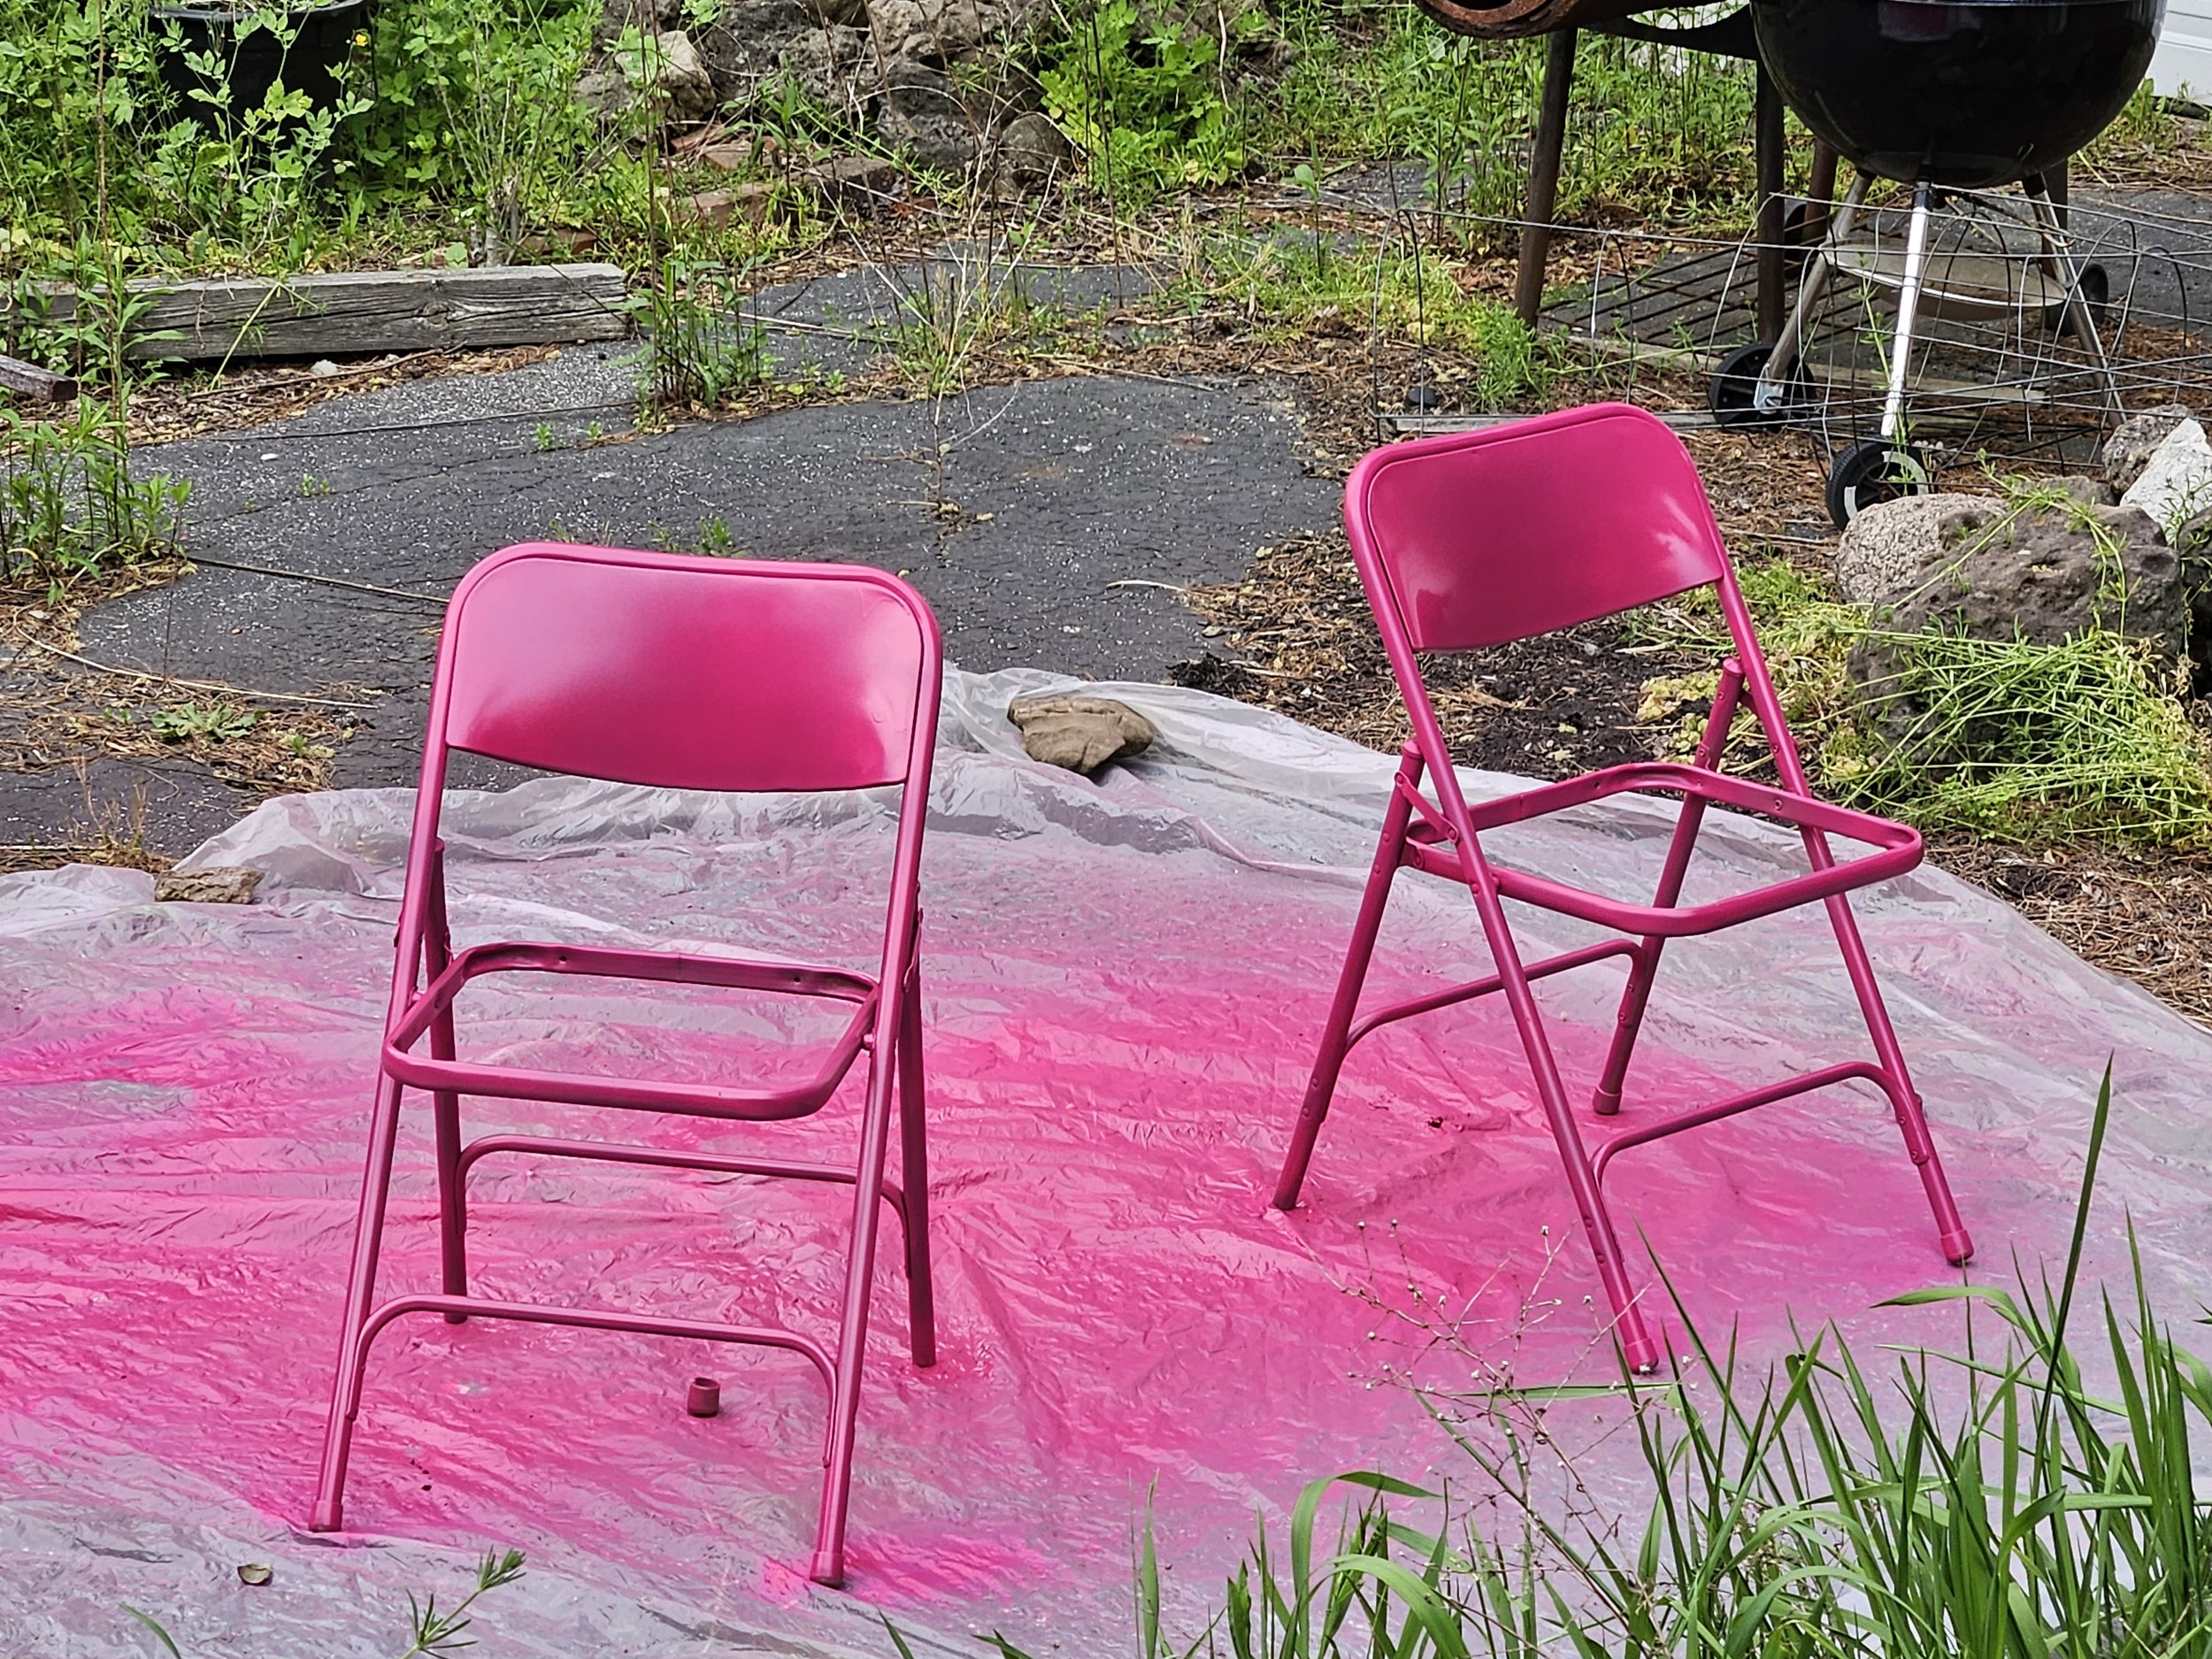
Outside, on a drop cloth (unless you want a pink driveway or grass), put two coats of paint on the chairs following the directions on the can of paint. This actually took four steps since I had to flip the chairs upside down to cover all areas with the chairs open. I allowed the paint to dry for 20 minutes between each step.
The next step is to cover the padded chairs. I cut two pieces of oilcloth, one for each chair and large enough to wrap around and under the seats, with about 2” - 4” beyond the bottom edge of the chair. This extra will get trimmed away later, but you will need it to pull the fabric taunt before stapling. You may want to play with the placement of the design on the seat front so you don’t end up with a major motif off to the side and all background in the center. Check all of this before cutting any of your fabric!
With the oilcloth face down on the table, lay the seat on top so that the bottom of the seat is facing up. Pull the edges of the oilcloth around to the bottom of the seat and staple in place. To get the oilcloth taunt, staple the opposite sides first in the center. Staple one side, then stretch and staple the opposite side. Repeat this step on the top and bottom.
After you have a staple on each side and the top and bottom of the cushion, you can work around one corner at a time. Do the center of opposite corners first, stretching to make taunt. Then complete each corner always pulling to eliminate pleats. More staples are needed on the corners. Your goal is to get a nice smooth corner with no pleats.
When you come to the bracket that holds the screws to attach the seat to the chair frame, you will need to trim away some of the extra fabric. Be sure you don’t cover the bracket screw holes.
Add some extra staples on each side.
After you have attached the oilcloth all of the way around the seat, you can trim the excess fabric and discard it.
Now you are ready to attach the seats to the chair frame when it is completely dry. It may be a good idea to paint the frames in the evening and let them dry overnight before re-attaching the upholstered seats.
After you are done attaching the seats, put a rubber leg tip on any legs that need a new tip. And voila! You have two pretty, bright and colorful chairs for your office, studio, kitchen or patio.
Stop by the studio this weekend for my Grand Re-Opening, Friday and Saturday, May 19 and 20, from 10 a.m. - 4 p.m. and see the chairs in person. I have lots of oilcloth for sale, if you want to try this at home.


